
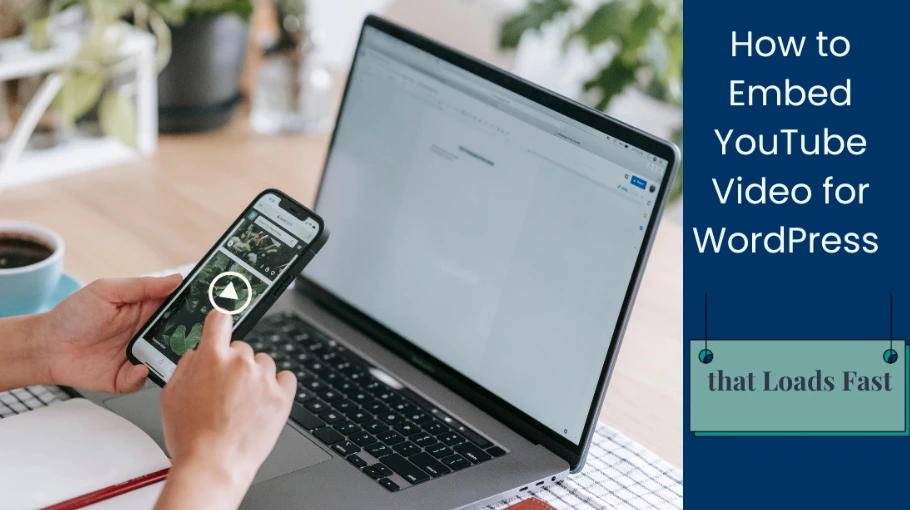
If you’ve ever embedded a YouTube video on your WordPress site, you may have noticed that it slows down your page speed. That was exactly my issue when I checked my site with Google PageSpeed Insights. My performance score was stuck at 62 on mobile, and one of the biggest culprits was the YouTube embed.
After some testing and troubleshooting, I replaced the video embed with a WebP image on page load and used JavaScript to load the video only when clicked, which resulted in a massive improvement—my PageSpeed score jumped to 91! Here’s how I did it, the problems I encountered, and the solutions that worked.
Why YouTube Embeds Hurt Performance
When you embed a YouTube video using the standard <iframe> code, it loads several third-party scripts and styles from YouTube, even if the visitor never plays the video. This increases page load time significantly.
To fix this, I needed a lighter, click-to-load alternative that only loads the video when needed.
Full Transparency About How I Got Here
I had no idea this was even an option. ChatGPT suggested it when I asked:
“I have a YouTube embed on my website and it seems to be slowing the page speed down. Is there a better way to embed a YouTube video in WordPress that doesn’t impede page speed performance?”
The five options presented were:
- Lazy Loading
- Use a Plugin (like WP YouTube Lyte)
- Use a Static Image with a Play Button
- Embed with an External Tool (e.g., iframe generator)
- Defer the YouTube Script Loading
I liked the idea of lazy loading, which led to implementing what’s called a video facade.
Step 1: Replacing the YouTube Embed with a Click-to-Play Facade
Instead of embedding the full video, I replaced it with a static thumbnail image that users click to load the actual YouTube iframe.
How It Works:
- Display a WebP thumbnail of the video (to keep it lightweight).
- Overlay a play button to indicate that it’s a video.
- When clicked, replace the image with the actual YouTube embed (which starts playing automatically).
Here’s the code I used:
There’s URL placeholders in the code because I’m using this on another site of mine that I’d rather not disclose. So, where you see, example.com, replace that with your URL, and the other one is the youtube.com link, which you’ll need to replace the {VIDEO_ID} with the ID of the video you want to embed. Click the button to reveal the code. I hid it because it’s long.
Troubleshooting & Fixes:
Before the video facade worked as intended, it wasn’t plain sailing. Usually, this kinda stuff rarely is. Expect bumps along the way.
Throughout the process, several tech issues arose. Here’s 5 of the troublesome glitches I experienced:
1. Blank Space After Clicking the Thumbnail
- Issue: When clicking the thumbnail, the image disappeared, but the video didn’t load.
- Fix: The script needed to properly replace the thumbnail with the YouTube iframe using “innerHTML” instead of removing all content.
2. Page Content Below the Video Disappeared
- Issue: After clicking the video, all content below it vanished.
- Fix: The container holding the video was collapsing. Ensuring the “div” had a fixed height until the video loaded solved this issue.
3. YouTube Video Not Loading on Click
- Issue: Clicking the play button did nothing.
- Fix: The JavaScript selector was incorrect, or the event listener wasn’t properly attached. Rewriting the event binding solved the problem.
4. 404 Error in Console
- Issue: The browser console showed a 404 error when attempting to load the video.
- Fix: The play button image was missing from the provided file path. Since I had embedded the play icon directly into the thumbnail image, I simply removed the overlay code.
5. Unwanted Console Errors
- Issue: The console showed errors like “Unchecked runtime.lastError: The message port closed before a response was received”.
- Fix: This wasn’t related to the YouTube embed but rather a browser extension. Testing in incognito mode (with most extensions disabled) confirmed that the error didn’t impact functionality.
Result: Instead of loading the YouTube video immediately, my page now loads just a lightweight image, and the video loads only when clicked—drastically improving load time.
Note: “Console” is referring to the browser’s developer console. In Chrome, right-click, select “inspect”, and click on the “console” tab. It shows all the events happening in the background of the page.
As an aside: I picked up most of what I know about website optimization through trial, error, and learning from others. Being part of a community of bloggers and online entrepreneurs has been invaluable—having access to people who troubleshoot these kinds of things daily made experimenting less intimidating. It’s easier to test things when you know you can ask for help if you mess up!
If you’re looking for a supportive place to learn about websites and online business, the community at Wealthy Affiliate has been a great resource for me. I’ve found that having a space to ask questions and see how others solve similar problems makes learning (and experimenting) way easier.
Step 2: Converting Images to WebP
Another major issue in my PageSpeed report was large image sizes. To fix this, I converted all JPG and PNG images to WebP, a modern image format developed by Google that provides superior compression and quality compared to traditional formats. WebP images load faster, helping improve site performance without sacrificing clarity.
How to Convert Images to WebP:
- Online Tools: The site I use is FreeConvert.com. Upload your image, set the output to WebP, click convert, and download the optimized image.
- WordPress Plugin: While there are plugins for this, more plugins = more bloat. If you prefer automation, ShortPixel and WebP Express are supposed to be decent options to convert images to WebP automatically. I never tried them so can’t speak from experience.
Step 3: Adjusting Featured Image Size for Faster LCP
My PageSpeed report showed that my Largest Contentful Paint (LCP) element was the featured image. Even though I converted it to WebP, it was still too large.
Solution: Resize to Match Display Size
I checked the actual rendered size of my featured image using a screenshot and saw it was 911px × 511px, but my uploaded image was 1200px × 675px—way bigger than needed!
To check the actual size of your images on the page, I used the Screenshot Capture 3.1 browser extension for Chrome. After saving the screenshot:
- Right-click on the image file and select Properties.
- Go to the Details tab to see the width and height.
- Resize your image accordingly.
For featured images, I set up a Canva template to match these dimensions. I uploaded my image, resized it, downloaded it, then converted it to WebP using FreeConvert.com. Finally, I uploaded the optimized image back into WordPress.
By resizing the image to 910px × 510px, I reduced its file size while maintaining quality, further improving load times.
The Final Results: A PageSpeed Score of 91! (On Mobile)
After implementing these changes:
- YouTube video loads only when clicked
- Images converted to WebP for faster loading
- Featured image resized to optimize LCP
Mobile PageSpeed Score Before: 62
Mobile PageSpeed Score After: 91
These at times, not-so-simple optimizations transformed the PageSpeed performance of a pesky slow-loading page while keeping everything user-friendly.
If you’ve been working on building your blog audience and thought interactive media like YouTube embeds would help engage visitors, only to find that slow embeds and oversized images are dragging down your page load times, these fixes are for you. Check out my guide on how to build a blog audience for more tips on growing your blog, and give these optimizations a try to keep your site fast and user-friendly!
Have You Optimized Your Site?
Let me know in the comments if you’ve tried similar optimizations or if you have other page speed improvement tips!